Published on - August 28, 2019 Open OST in MS Outlook 2019, 2016, and 2013

OST is a popular file format that facilitates offline working in Exchange environments. One of the problems with OST file is that it is profile-specific and so no other user will be able to open it in Outlook. However, you may convert OST to PST so that other users may have a look at the inside data it holds.
Let’s move forward to know how it is done.
Convert OST file to PST
As we discussed that there are situations when one may need to convert OST to PST, and that’s why we are going to quote some methods with which you can perform the conversion.
To perform this method, you need to log in to Outlook using the original Exchange profile.
Yes, it was as simple as that.
Archiving facility in Outlook serves many good purposes, one of which is you can save some OST data to a PST file by archiving it. Let’s know how:
This is how you can archive an OST file and open it as PST in Outlook. Though this method is easy and quick, but you can’t save the address book of the OST file.
Kernel for OST to PST is a tool that is designed for smooth conversion of the OST file to PST. The tool is capable of converting OST file to PST in a few easy steps – install the tool properly, run it on your system, and follow the below mentioned steps:
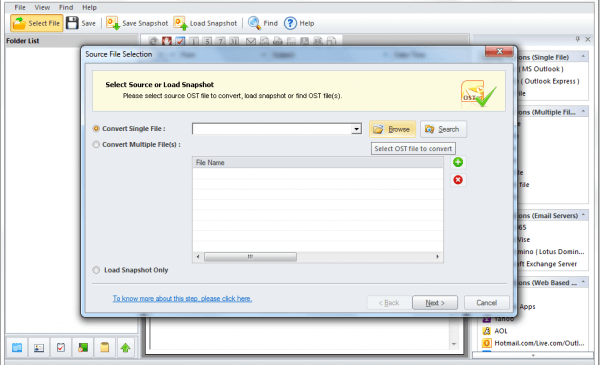
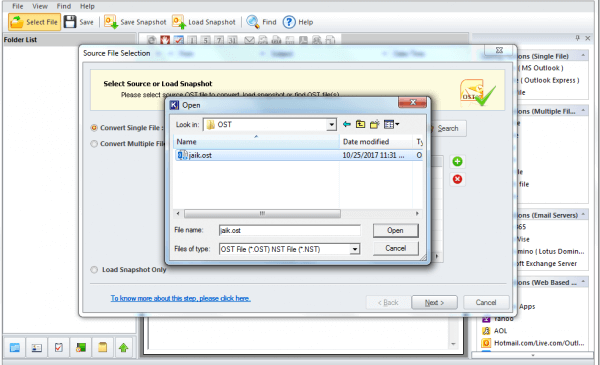
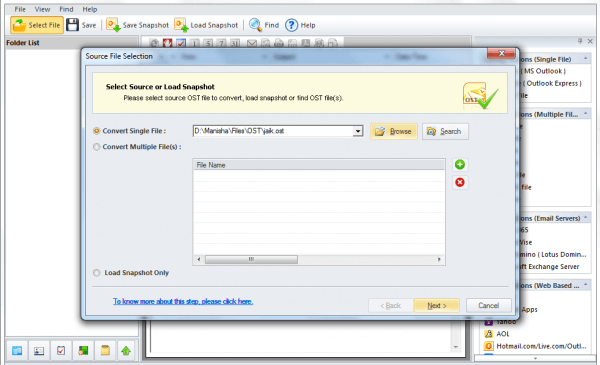
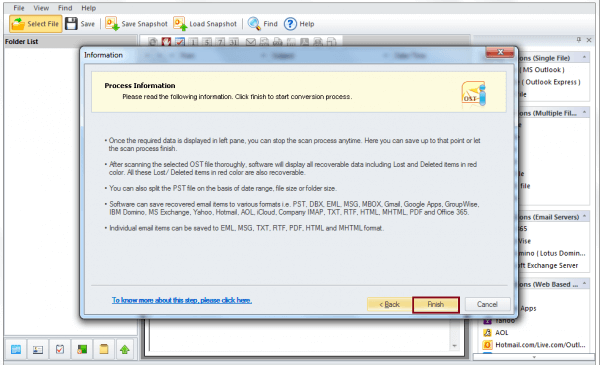
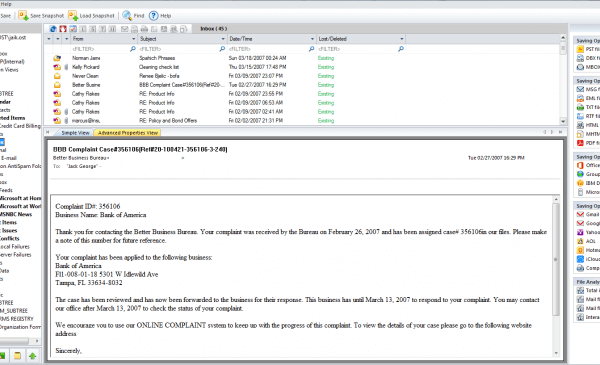
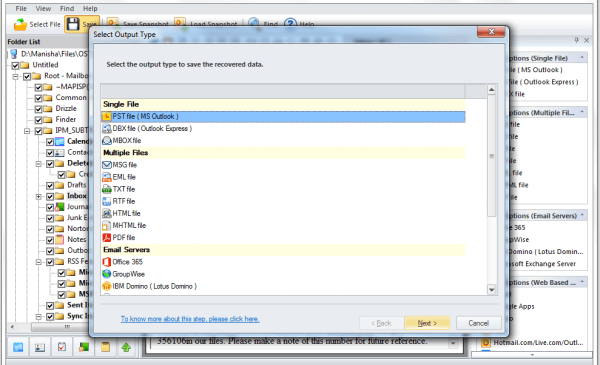
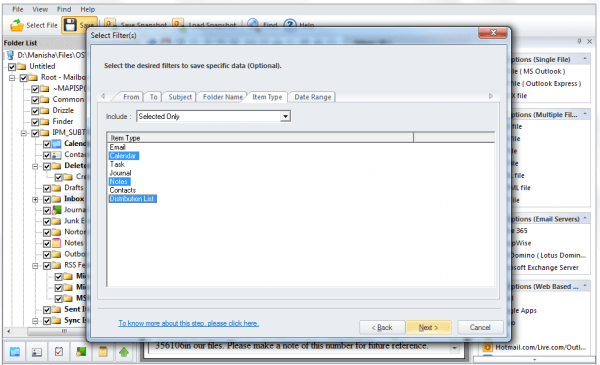
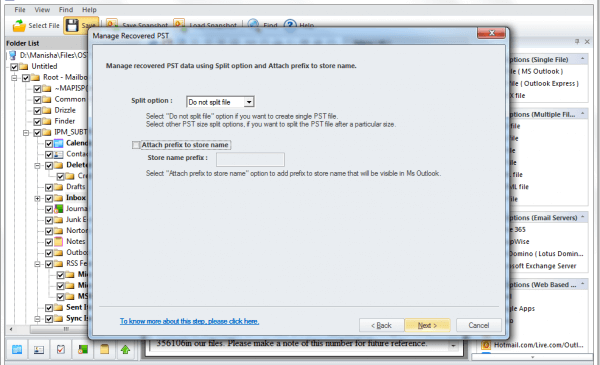
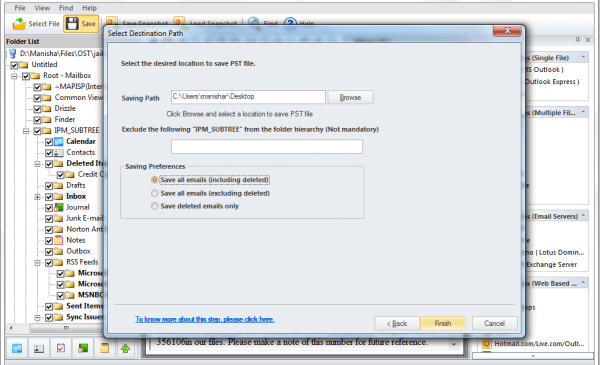
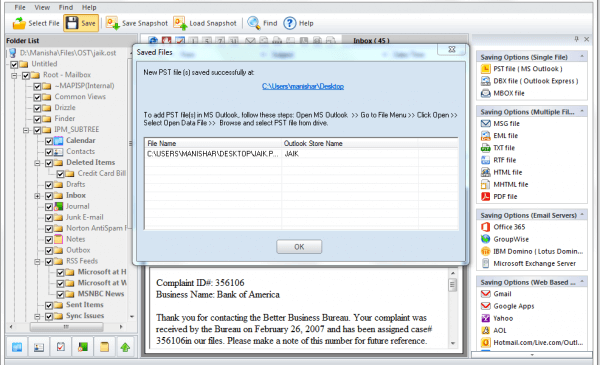
So, this is how you can convert an OST file to PST. You can now check the newly created PST at the location where you have saved it. Now, you can easily open this PST with Outlook 2019, 2016, or 2010.
Conclusion:
This blog was about how you can process an OST file and open it in Outlook 2019, 2016, or 2010. The blog contains the manual and automated methods for converting an OST to PST for opening it with any version of Outlook. While performing both of the methods we found several pros and cons. Manual method is free, but it is very time-taking. Also, it cannot migrate all items. With the automated method, you can convert each and every item. To conclude, the third-party tool is the easiest and the quickest way to do OST to PST conversion.

How to Redirect External Mails to Another Folder in Outlook?

Export AOL Emails to Hard Drive

Open PST File Without Outlook
How to delete duplicate Calendar entries in Outlook 2016?

How to Merge PST Files Using Outlook 2016?

2 Simple Ways to Merge Multiple Outlook PST Files Instantly